How do I Prepare my Garden Beds for Winter? Gardening Tips Per Month
- Sep 2, 2025
- 10 min read
Updated: Mar 1
As the warm hues of autumn slowly give way to the crisp air of winter, it’s the perfect time for gardeners to prepare their garden beds for the months ahead. This preparation not only protects your plants but also ensures your garden flourishes when spring arrives.
In this article, we will discuss how to properly ready your garden for winter, with monthly gardening tips for your beds.
Contents
1. September
1.3 Keep deadheading annuals
1.4 Have you ordered your Spring bulbs?
2. October
2.4 Plant vegetables
3. November

1. Jobs to do in September to keep your Borders Tidy
1.1 Sow your Hardy Annuals
Sowing hardy annuals in September is a gardening practice that can yield vibrant blooms and lush foliage come spring. Hardy annuals are unique in that they can withstand cooler temperatures and even frosts, allowing them to germinate and establish themselves before the harsh winter months set in.
One of the key benefits of sowing hardy annuals at this time of year is the extended growing season. As the days begin to shorten and temperatures drop, the soil remains warm enough for seeds to germinate. This is particularly beneficial for species such as pansies, calendulas, and nigella, which thrive when sown in the cooler months.
How do I sow hardy annual seeds?
To successfully sow hardy annuals in September, it’s important to prepare the soil adequately. Start by clearing any debris and weeds from the planting area, then loosen the soil to improve drainage and aeration. Incorporating organic matter, such as compost, can enrich the soil and provide essential nutrients that will support the growth of the seedlings.
Once the soil is prepared, the seeds can be sown either directly into the ground or in seed trays for later transplanting.
After planting, it’s essential to keep the soil consistently moist but not waterlogged, as this can lead to rot or disease. A gentle watering can help settle the seeds into the soil and promote good seed-to-soil contact, which is vital for germination.
As the seedlings begin to emerge, monitoring their moisture levels will help ensure they thrive through the cooler months. Moreover, choosing a location that receives adequate sunlight and protection from harsh winds can make a significant difference in the success of the seedlings.
If necessary, using cloches or row covers can provide additional warmth and protection, especially during unexpected cold snaps.
Popular hardy annuals
This is the perfect time to sow your hardy annuals like Cerinthe, Ammi (laceflower) or Scabiosa
Ammi (laceflower)
The cornfield annual Centaurea cyanus
Eschscholzia calfornica
Nigella damascena
Calendula 'Pink Surprise'

1.2 Divide Your Perennials in Late September
Perennials are plants that live for more than two years, and over time, they can become overcrowded in their designated spaces. This overcrowding can lead to competition for nutrients, water, and sunlight, which can ultimately diminish their growth and flowering potential.
Dividing perennials is an essential gardening practice that can significantly enhance the health and vitality of your plants. Late September is an ideal time for this task, as the weather begins to cool down, providing a perfect environment for the plants to recover from the stress of division.
Why Divide Perennials?
By dividing perennials, you not only rejuvenate the plants but also create opportunities to propagate new ones, allowing you to expand your garden or share with friends and fellow gardening enthusiasts.
And we all know that adding more of the same plants in your borders is the key for beautiful cohesive schemes!
Signs That Your Perennials Need Dividing
Before you embark on the division process, it’s crucial to recognize the signs that indicate your perennials are ready for this intervention. Common indicators include:
Decreased Flowering - If you notice that your perennials are producing fewer flowers than in previous years, it may be a sign they are becoming too crowded.
Dead Centers - Many perennials will develop a dead or sparse center as they grow outward. This is a clear indication that the plant needs to be divided.
Overgrowth - If the plants are spilling over their designated space or if they seem to be competing with neighboring plants, it’s time to consider division.
Best Practices for Dividing Perennials
1. Timing: Late September is optimal because it allows the plants to settle in before winter. The cooler temperatures reduce stress, and the soil is often still warm enough to encourage root growth.
2. Preparation: Before you start, ensure you have the right tools on hand. A sharp spade or garden fork, a trowel, and possibly a sharp knife for cutting through roots will be necessary. Additionally, prepare a new location for the divided plants or have pots ready if you plan to transplant them.
3. Watering: A day or two before you divide your perennials, water them thoroughly. This helps to hydrate the plants and makes the soil easier to work with.
4. Dividing Process: Carefully dig around the plant, ensuring you get as much of the root system as possible. Once lifted, gently shake off excess soil and inspect the roots. Using your hands or a knife, separate the plant into smaller sections, making sure each section has healthy roots and shoots.
5. Replanting: Replant the divided sections immediately in well-prepared soil. Ensure they are planted at the same depth they were previously growing. Water them well after planting to help settle the soil around the roots.
6. Aftercare: After dividing and replanting your perennials, it’s important to provide them with proper aftercare. Continue to water them regularly, especially if the fall is dry. Mulching around the base can help retain moisture and protect the roots as they establish themselves in their new locations.
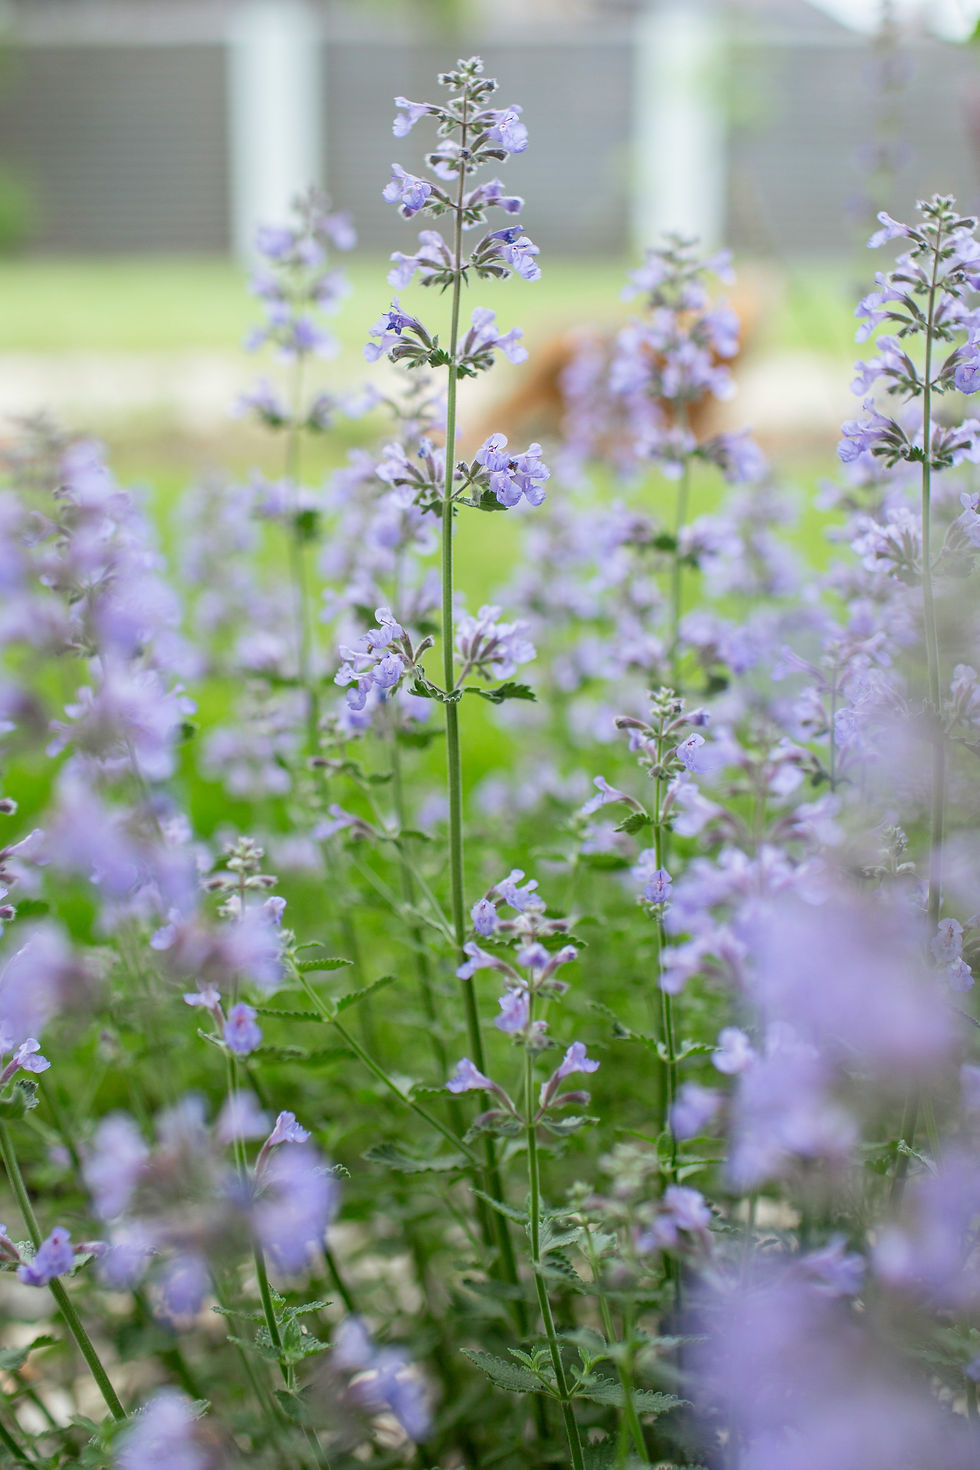
Nepeta is one of the plants that can easily be divided
1.3 Keep Deadheading Flowers Throughout September
Deadheading, the process of removing spent or faded flowers from plants, is a crucial gardening practice that should be diligently maintained throughout the month of September. This practice not only enhances the aesthetic appeal of your garden but also promotes healthier plant growth and encourages a longer blooming period.
Here are some benefits of deadheading:
Encourages new growth: One of the primary benefits of deadheading flowers is the stimulation of new growth. When you remove the old, wilting blooms, you prevent the plant from diverting its energy into seed production. Instead, the plant can redirect its resources toward producing new buds and flowers.
Enhancing Plant Appearance: Deadheading plays a vital role in maintaining the visual appeal of your garden. This is particularly important if you have late bloomers that are still producing flowers, as a well-maintained garden can provide a stunning display of color even as the season changes.
Some Plants Benefit from Deadheading: Certain flowering plants particularly benefit from deadheading in September. For instance, many annuals like dahlias, petunias, marigolds, and zinnias will continue to bloom profusely if spent flowers are regularly removed. Perennials such as echinacea, daisies, and black-eyed Susans also respond well to deadheading, often producing a second wave of blooms as the season progresses.

1.4 September is the Time to Order Your Spring Bulbs
This is the perfect time to start planning what your beds will look like for the vibrant displays of color that will grace our gardens come spring. Ordering spring bulbs now is not just a suggestion; it is a vital step in ensuring that your garden blooms with the beauty of tulips, daffodils, hyacinths, and other perennial favorites when the frost melts away and the earth awakens from its winter slumber.
By planning ahead and securing your bulbs now, you can ensure that you are ready to plant at the right time, maximizing the chances of a stunning spring display. And don't forget" popular bulbs like Alliums will sell out!

2. October Jobs for your Borders
2.1 Plant your narcissi, crocus and iris in October
October is an ideal month for planting various spring-flowering bulbs, including narcissi, crocus, and iris. Each of these bulbs brings a unique charm to gardens and landscapes, heralding the arrival of spring with their vibrant colors and delightful fragrances.
When planning to plant your narcissi, crocus, and iris, it is essential to choose a suitable location in your garden. These bulbs thrive in well-drained soil that receives plenty of sunlight. Ideally, select a spot that enjoys at least six hours of direct sunlight each day. This will ensure that the bulbs receive the energy they need to bloom beautifully when spring arrives. Additionally, ensure that the area is not prone to waterlogging, as excess moisture can lead to bulb rot.
When it comes to planting the bulbs, the depth and spacing are vital for their successful growth.
Narcissi bulbs should typically be planted about 6 to 8 inches deep, while crocus bulbs can be placed around 3 to 4 inches deep.
Iris bulbs, depending on the variety, generally require a depth of about 4 to 6 inches. It's also important to space the bulbs adequately;
For narcissi, aim for about 6 inches apart, crocus should be spaced about 3 inches apart, and iris bulbs should be planted around 12 to 15 inches apart to allow for their growth and spread.

Crocus flowers in bloom
2.2 Keep borders clear of fallen leaves throughout October
It is essential to keep borders clear of fallen leaves throughout this month to maintain the health and aesthetics of your garden. Fallen leaves, if left unattended, can create a multitude of issues. They can smother the plants in your borders, preventing sunlight from reaching them and hindering their growth.
Additionally, a thick layer of leaves can trap moisture, leading to mold and mildew, which can be detrimental to the health of your plants. This is especially critical during the damp and cooler days of October, when the risk of diseases increases.
2.3 Sow some sweetpeas in October
Sweet peas, known scientifically as Lathyrus odoratus, are beloved for their beautiful blooms and sweet scent, making them a favorite among gardeners and flower enthusiasts alike.
When selecting sweet pea varieties for October sowing, consider the specific conditions of your garden. There are numerous types of sweet peas available, ranging from traditional heirloom varieties to more modern hybrids.
Some popular choices include 'Cupani,' known for its rich purple and cream flowers, and 'Old Spice,' which offers a delightful mix of colors and fragrances.

2.4 Plant these vegetables in your borders and raised beds
Autumn is an excellent time to plant several vegetables that thrive in cooler temperatures. According to the Royal Horticultural Society (RHS), consider planting the following in the UK:
Garlic: Plant garlic cloves in autumn to establish roots before winter. This can lead to a harvest that is 20% more bountiful by summer.
Onions: Autumn is ideal for planting onion sets. By spring, they will grow into large, flavorful bulbs.
Broad Beans: These robust beans can be sown now for an early harvest come spring, providing fresh produce as early as April.
Winter Lettuce: Some varieties can be sown in autumn, offering crisp greens during winter months.
Perpetual Spinach: This leafy green is perfect for autumn planting and offers a steady supply of fresh leaves throughout the winter months.
3. November Jobs for your Borders
You've made it to November. As you keep tidying the garden from fallen leaves, there are still jobs to do while the soil gets harder and colder. Wear those extra layers, going out in the garden will not be pretty in these temperatures!

Pansies
3.1 Add some winter colour to your beds
Update your winter bedding by planting pansies, violas, and wallflowers for colour during the colder months. These hardy flowers are not only beautiful but also remarkably resilient, able to withstand chilly temperatures while still offering a vibrant display.
Pansies, with their wide range of colors and patterns, can brighten up even the dreariest winter days. They thrive in cooler weather, making them an excellent choice for winter gardens. Violas, closely related to pansies, are smaller and often produce a more delicate appearance. They come in an array of hues, from soft pastels to bold, striking colors, and their sweet fragrance can add an extra layer of charm to your winter landscape.
3.2 Lift your dahlias
If your beds include dahlias, as soon as they are blackened by the first frost you can lift them. Cut any stems down to the crown, lift them out and clear away any soil, Then store them in a cardboard box until spring.
3.3 Plant your tulips
The ideal time to plant tulips is in November, before the ground freezes. This timing allows the bulbs to establish roots in the cool soil, preparing them for a robust flowering season in the spring.
It's essential to monitor local weather conditions, as the exact timing can vary based on your geographical location. If you're shivering when walking in your garden then it is time for the tulip bulbs to go in the ground. Always be guided by temperature rather than dates!
When selecting tulip bulbs, it is crucial to choose high-quality bulbs from a reputable source. Look for bulbs that are firm and free of any signs of mold or damage. Larger bulbs tend to produce more robust plants with bigger flowers, so it's advisable to select bulbs that are of considerable size.
Additionally, consider the variety of tulips you wish to plant; there are many types, including Darwin hybrids, Triumph tulips, and fringed tulips, each offering unique colors and shapes. Dig holes that are approximately 6 to 8 inches deep. Space the bulbs about 4 to 6 inches apart to allow for adequate growth.
To protect the bulbs during the winter months, consider adding a layer of mulch, such as shredded leaves or straw, on top of the planting area.

Ready to Embrace Autumn Gardening
Preparing your garden beds for winter is a rewarding task for every gardening enthusiast. By taking the time to clean up your garden, care for your lawn, tidy your space, and plant hardy vegetables, you can help ensure your garden’s health and vibrancy throughout winter.
As you embark on these autumn gardening activities, remember that each effort you make now will yield benefits in the spring. Grab your gardening gloves, put on your favorite hat, and enjoy the beauty of autumn while thoughtfully preparing your garden for the wintry season that lies ahead!
Our writers like to blog about gardening. We launched the award-winning Seasons in Colour in 2015 and the luxury property and interior decor blog www.alltheprettyhomes.com in 2024 to cover all your interior design, travel and lifestyle inspiration needs.


