How to Create the Perfect Gallery Wall in Your Home
- Jan 19, 2023
- 5 min read
Updated: May 27, 2025
Gallery walls are striking and actually easier to implement than many people realise. In fact, if you’re looking to make a feature of your decor in a room, black and white photography or art is the perfect way to incorporate some visual interest in an elegant way, while also capturing those special memories that are so important to you and your family.
Understandably, many people consider the idea of creating a gallery wall difficult, because there are various ways you can approach it and you don’t want your images to look cluttered and untidy.
All too often, gallery walls either look uninspiring and boring or they look overwhelming and chaotic. But there are a few ways you can ensure that whatever style of images you have in your possession, you can hang them in a stylish way.
In this article, we’ll explore a few tried and tested ways to create the perfect gallery wall in your own home.

Image: @andrea_groot (instagram)
Choose a theme
The first step is to gather your art or images you want to hang. You want to choose items that complement each other but don’t match too much, as this can result in a bland looking wall without any personality.
An overarching theme can be useful here, giving you the flexibility to choose images you love but that will tie together nicely when they’re placed next to one another.
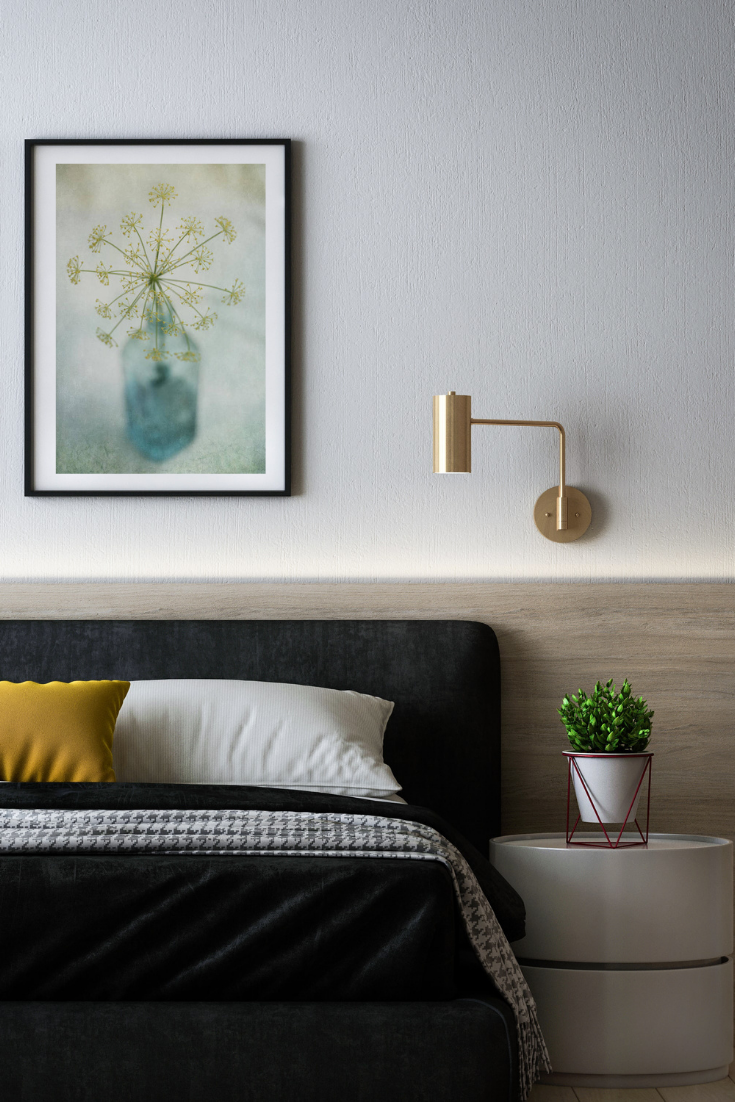
You might choose images that are all the same colour tone, for example, which will give a cohesive look that’s bright and bold without being overwhelming.
Or maybe you can get creative and take your own portraits of family and friends that will look stylish and modern, while also evoking great memories.
Maybe you have a lot of beloved landscape paintings or pet photography you want to celebrate.
Or maybe you had a professional take a profile picture to set yourself apart in work search sites like Linkedin? Then this could be the perfect shot to include in your creative gallery wall.
A gallery wall is a great place to curate images and pieces of art you truly love, that capture your interests, so use it as an opportunity to think outside the box.


Image: House Beautiful
Don’t neglect the frames
The frames you use are just as much of an element of the gallery wall as the art or photography within them, so don’t neglect them. The frame you choose tells part of the story and it’s an important part of the process, so why not make that a part of the whole feature?
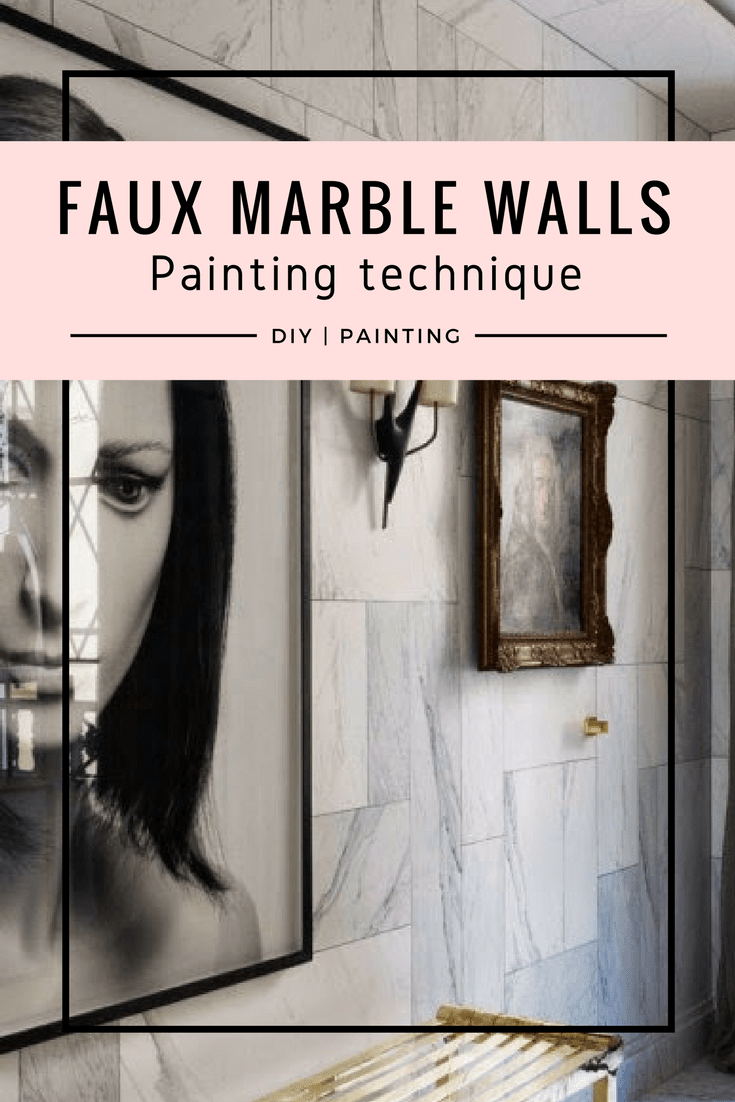
There are various ways to do this, from size and materials to colour and style. For example, minimal frames are great if you want to let the art do the talking, and are also a great fit if the art or images you’ve chosen are bolder in style and colour.
However, if your taste leans more towards the historic and traditional, ornate wooden frames can be a great way to elevate the look and evoke a more classic feel. Consider your own style and use the frames of your gallery wall to enhance that particular look.

Image: Good Housekeeping
Layout the pattern first
You don’t want to start hammering nails into the wall without first deciding where you want each piece to sit, so laying out the pattern first can really help. It gives you the opportunity to move pieces around until you’ve decided on a pattern you’re happy with, without damaging your wall in the process.
Measure the amount of space you want to fill on your gallery wall, and then tape off that size using masking tape on your floor or measure it out using a few strips of old wrapping paper taped together.
You can then layout each piece within that area and play around with the placement until you settle on the right design. You may want a geometric layout with columns and rows, or you might want a more abstract layout using different sizes and orientations.

Image: Alyssa Rosenheck
Start large and go smaller
It’s worth placing your largest item first, or the standout piece which you want to be a focus, and then build your layout from there. That doesn’t necessarily mean that the largest item has to go in the centre, though naturally that’s also an option.
For example, you might place it in one of the four corners, or slightly off-centre with smaller items surrounding it. Think about where you want the eye to travel as it looks through the images and then create a layout that draws the eye in that direction. If you're aiming for a classic touch, consider adding timeless scenes on canvas as part of the arrangement.
Another option is to have two larger pieces in opposite corners with a scatter of smaller frames between, for a layout that looks modern and abstract but still cohesive.
Hang your images in place
The final step is to actually hang the images on the wall. Naturally, you’ll need nails or picture hooks and a hammer, but also a spirit level, a pencil and some masking tape. Draw lightly on the walls at the top corners of the frames in the locations you want them, and then use a strip of masking tape on the back of the frame to mark the keyholes.
You can then place this strip of tape on the wall where the frame will go and hammer into those holes for the precise location of each keyhole, so you don’t risk overshooting where the nails need to go. Use a spirit level to make sure the tape is level before you hammer the nails in, then put the frame up.
Conclusion
Lastly, step back and admire your work. Gallery walls are a great way to add personality, colour and texture to any wall in your home, from a feature wall in your living room to hallways and even kitchens.
You may choose a simplistic, minimal layout that looks chic and contemporary or maybe maximalism is more your thing, in which case you can let your creativity run wild with a colourful gallery wall that encapsulates all of your interests and passions in life.
Whichever style you choose, hopefully these tips will help you create a layout that really works for your home, making the process of developing a stand-out gallery wall easy and hassle-free.
Our writers like to blog about home decor. We launched the award-winning Seasons in Colour in 2015 and the luxury property and interior decor blog www.alltheprettyhomes.com in 2024 to cover all your interior design, travel and lifestyle inspiration needs.