The best flatlay photography tips EVER
- Apr 17, 2019
- 7 min read
Updated: Feb 28, 2025
If you made it to this page, you're interested in learning the rules for creating stunning flat lay photos of items laid flat on a surface. You're in the right place. I have all the tips for you, no matter if you are a total novice or more experienced photographer.
Why do you need to know about flatlays though? Put simply, this way of photographing is all the rage and can make your photos go viral, especially on Instagram. Those Instagramers who nail the style get extra followers and those who have the top numbers are considered influencers and attract top brands for digital marketing purposes. With a bit of creativity and time, this could be YOU!
For those looking to create striking and memorable images, Heroshot Photography offers professional services that highlight the essence of your products or brand. Hero shots are an effective way to capture attention and convey a powerful message through your photography.
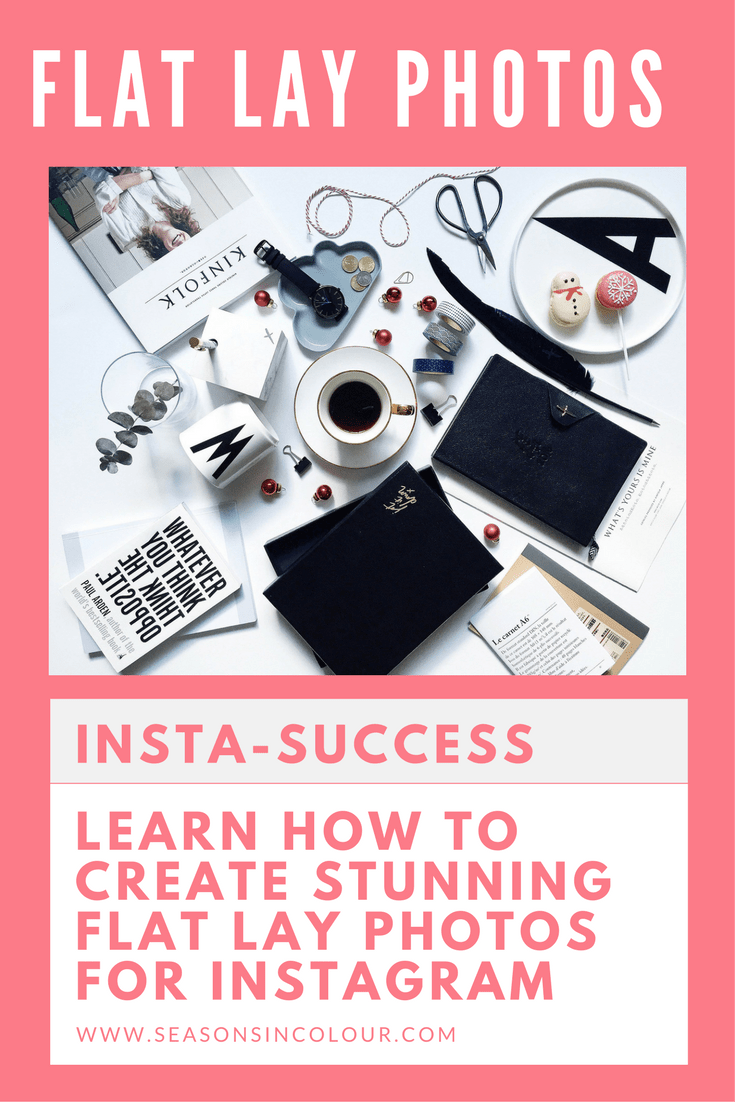
So let's go through the top tips for mastering the art of flat laying your products and taking awesome photos to catapult you into the Instagram stratosphere.
Who should use flatlay photography?
If you love sharing photos on Instagram, flatlays are the right type of photos for you if you have an interest in fashion, cosmetics and food. You can include all three in one photo and tell a story which is as strong as a 30' TV ad.
Don't forget to tag brands and products and use the right #hashtag at the end of your post. Do not be tempted to make up your own hashtags though! See further down for a really good tip on hashtags!
Flatlays attract a lot of attention on Twitter, Tumblr and Facebook too. That said they look better in a square format, making them ideal for Instagram and horrible for Pinterest where a "portrait" Pin is the best format to get more re-pins.

Credit: @margaret__zhang
1/ Flatlay photos on a white Background - Best for Fashion and Beauty photos
Try to reduce the background noise. What I mean, is that you should have a nice neutral background, where you can lay everything and the eye will not be wondering anywhere other than on the products. YOU DON'T WANT ANYTHING DISTRACTING FROM YOUR STORY.
You can use a variety of surfaces with a white background, including a table, your bed (white duvet covers obviously), a white desk or you can use a large illustration board (you can find this in stores that sell art supplies - in the UK, Amazon sell these, search for A1 mount boards or foam boards.
One of the most popular backgrounds used is this marble effect self-adhesive vinyl which you can stick onto an A1 White Matt Foam board. The best size is A1 so that it covers enough area for you to lay out products.
Products to use

Follow them on Insta: @Phoebesoup | @meohmygirl | @elpluswr
2/ Flatlay photos on a dark background - Best for Travel and Food
Statistically, white background does better in flat lays than coloured or black background. Just compare the photos above with those below. However, a dark coloured background seems to have the desired effect (likes) when used for travel or some food photos.
Use maps or the floor to tell a travel story. Include a passport or tickets in the photo and add products that reveal a bit about your destination: city guides; sunglasses or swimwear if you're going somewhere hot; an invitation.
Products to use

Follow them on Insta: @lilyrose | @lauraponts | @iamgalla | @designbyaikonik
3/ Flatlay photos on a Marble background - Real or faux?
White marble just oozes luxuty, doesn't it? You see it with a few Chanel make-up pieces on, pink roses, gold accessories and your heart skips a bit.
You crave the background but you're on a budget. So what do you do? You won't splash on a West Elm coffee table or change your kitchen worktop just because you took up a new hobby.
You will be surprised to hear this if you're just starting out but most of the marble backgrounds you see on Instagram (mine included) is faux. Not everyone has yards of Carrara marble tops around their homes. So when you can't make it, fake it. Want to know how?

SOLUTION: The nice marble you see often in flatlays and which I also use extensively in my photos (yeah, sock horror, she doesn't have a marble top coffee table/kitchen worktop) is this marble effect contact paper available from Amazon.
It comes rolled and you can stick it on surfaces (like on boards or coffee table tops). Some people just unroll it, use it and then roll it again for storage. I find this is the best solution if you are short of space; otherwise, sticking it on a foam board will make it easier to handle.
4/ Lighting tips for flatlay photos
So you have your background and you have carefully placed your items and have taken the photo, but something is still wrong. That's probably your light and filters.
Try shooting in indirect natural light. Not too much of it as you will end up sending shadows over your board and your camera will likely play games with exposure.
Never shoot under artificial light unless you have photographer's lamps and lots of them. Otherwise, expect a sad yellow photo. Eek!
If you want your flatlay to ace, you need a little bit of overexposure when you shoot on white background. You can use various "flash modes" that can clean up the photo while working magically on shadows and highlights.
If you try using your camera's flash you will end up with a bright light in the middle of your photo (red card, you're out). So using an in-app flash is totes amazing.
My best tip: Buy Newer Studio Ring Dimmable
5/ Filters and photo Apps
You don't specifically NEED filters. However! Some Instagrammers post all their photos using the exact same filter so that over time you can recognise their photos from a mile away. If you do find your perfect filter, stick to it ceremoniously. It can't be blue tint on Monday and 'golden hour' on Tuesday.
If you want to explore filters more in depth, use a photo editor or try VSCO, which is fabulous, once you find the right filter for you (and there's plenty of choice there).
Personally, I downloaded the Camera+ app on my iPhone. A handy app, their best function is the flash mode which I will show you here.
Their "Clarity" flash works best on very clear close ups and produces stunning HD like effect. The "Auto" flash does exactly what it's meant to be doing, taking the pain out of having to choose the right flash. The "food" flash mode is a bit yellowy, so I use mostly the "portrait" flash for my photos, it makes the background bright enough and the colours a little more intense than they are.
If you know of a different good photo app, share it in the comments section below.
6/ Flatlay photos taken from the top
Flatlay photos look better square, so think about what will go inside the photo frame/boundary and try a few test shots (or twenty) by moving things around. Most flatlay photos are taken from around 80cm high over the surface where the products are laid.
You can take a photo from higher up and crop it square.
Below I used an example by @meohmygirl (one to follow!) who's taken the same photo from top and side. Each one has a very different feel. I would like the second one in a magazine but for Insta, the first one is my favourite.

7/ Flatlay photos taken from a
One interesting angle to use is to shoot from above but have your products diagonally. Having tried this one, it creates depth of space, therefore making the picture more interesting and sometimes you can fit more in it. See the example below by @walids.


8/ Tidy vs (curated) Chaos
Another important aspect of flat lay photographs and one that is entirely up to your own style, is whether your photos will have products featured in an almost OCD-tidy way (see below photos by @davidgrr)

or whether you will let chaos run the show (again examples by @walids).

I do believe that everyone's different in their style and maybe this is one that you will master over time. In the meantime let's have a feel of both styles.
9/ Aim for consistency
The most successful Instagramers produce consistently the same kind of photography. The colours used, the background and even the type of things they shoot, everything is well thought of. Gone are the days when you just stuck your camera out to shoot just anything and upload it.
10/ The GOLD factor
Trust me on this, I heard it from one of the best. Throw in something gold and your photo will move to a whole new level.
11/ Zoom in for details
Another tip for those who don't want too much product in their photos. Just zoom in. You also don't have to worry about having half a bag in your photo as opposed to all of it, because it's pretty damn COOL.
Try a bag or magazine in one of the corners while your laptop keyboard should be on the top of the frame. Think of the 3x3 gridlines or turn them on on your camera/ iPhone if you need some help with placement.
12/ Be original
That's a little hard to achieve when most has already been tried before, but still, give your feed a bit of an edge with some fancy tricks. Use your phone in the photo for example like this.

13/ Remember to tag brands
Your photo will reach more people if you use hashtags correctly. Of course, it all starts by tagging the brands you have in the photo (and always tag yourself in pics too!). Stay tuned for some extra tips on the most successful tags to use if you want to increase traffic to your Insta account.
Our writers like to blog about interiors. We launched the award-winning Seasons in Colour in 2015 and the luxury property and interior decor blog www.alltheprettyhomes.com in 2024 to cover all your interior design, travel and lifestyle inspiration needs. Download our free bathroom renovation guide here.


